Running Redis Stack on Docker in Windows
A junior engineer's first real encounter with Redis caching — and why sometimes the biggest performance win isn't smarter code, it's less work.
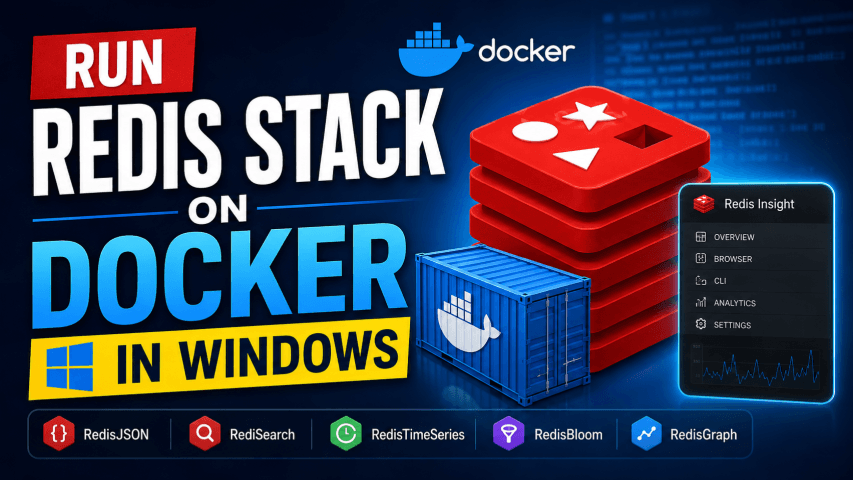
Redis Stack is an enhanced version of Redis that includes powerful modules such as RedisJSON, RediSearch, RedisTimeSeries, RedisBloom, and RedisGraph (depending on the version). It also comes with Redis Insight, a web-based GUI for managing and monitoring your Redis databases.
Instead of installing Redis directly on Windows, the recommended approach is to run Redis Stack using Docker.
In this guide, you'll learn how to install and run Redis Stack on Windows using Docker.
Prerequisites
Before getting started, ensure you have:
- Windows 10 or Windows 11
- Docker Desktop installed
- WSL 2 enabled (recommended)
Download Docker Desktop: Click Here
After installation, verify Docker is running.
docker --version
Example:
Docker version 28.x.x
Verify the Docker daemon:
docker ps
Step 1: Pull the Redis Stack Image
Download the latest Redis Stack image from Docker Hub.
docker pull redis/redis-stack:latest
Step 2: Run Redis Stack
Start Redis Stack using the following command:
docker run -d --name redis-stack -p 6379:6379 -p 8001:8001 redis/redis-stack:latest
Command Breakdown
| Option | Description |
|---|---|
-d | Runs the container in detached mode (background). |
--name redis-stack | Gives the container a readable name. |
-p 6379:6379 | Exposes the Redis server on port 6379. |
-p 8001:8001 | Exposes Redis Insight on port 8001. |
redis/redis-stack:latest | Downloads and runs the latest Redis Stack image. |
Step 3: Verify the Container
Check that the container is running.
docker ps
Example output:
CONTAINER ID   IMAGE                       STATUS
e13d7c1c9c2f   redis/redis-stack:latest    Up 10 seconds
Step 4: Open Redis Insight
Redis Stack includes Redis Insight, a browser-based GUI for Redis.
Open your browser and navigate to:
http://localhost:8001
From the dashboard:
- Click Add Redis Database
- Enter the following:
| Field | Value |
|---|---|
| Host | localhost |
| Port | 6379 |
| Name | Local Redis |
- Click Add Database
You can now browse keys, execute commands, and monitor your Redis instance visually.
Step 5: Connect to Redis CLI
Open a terminal inside the container.
docker exec -it redis-stack redis-cli
You should see:
127.0.0.1:6379>
Step 6: Test Redis
Store a value:
SET username "Debu"
Output:
OK
Retrieve it:
GET username
Output:
"Debu"
Test the server:
PING
Output:
PONG
Step 7: Test RedisJSON
One of the biggest advantages of Redis Stack is the RedisJSON module.
Create a JSON document:
JSON.SET user:1 $ '{"name":"Debu","age":25,"city":"Dhaka"}'
Retrieve the JSON document:
JSON.GET user:1
Expected output:
{"name":"Debu","age":25,"city":"Dhaka"}
Step 8: List Installed Modules
Run:
MODULE LIST
Example output:
name
ReJSON

name
search

name
timeseries

name
bf
These modules provide advanced capabilities beyond standard Redis.
Step 9: Stop Redis Stack
docker stop redis-stack
Step 10: Start Redis Stack Again
docker start redis-stack
Step 11: Restart Redis Stack
docker restart redis-stack
Step 12: Remove Redis Stack
Stop the container:
docker stop redis-stack
Remove it:
docker rm redis-stack
Running Redis Stack with Persistent Storage
By default, data is stored inside the container. If you remove the container, your data will be lost.
Create a Docker volume:
docker volume create redis-stack-data
Run Redis Stack with persistent storage:
Linux/macOS
docker run -d \
  --name redis-stack \
  -p 6379:6379 \
  -p 8001:8001 \
  -v redis-stack-data:/data \
  redis/redis-stack:latest
Windows PowerShell
docker run -d `
  --name redis-stack `
  -p 6379:6379 `
  -p 8001:8001 `
  -v redis-stack-data:/data `
  redis/redis-stack:latest
Now your Redis data will persist even if the container is recreated.
Useful Docker Commands
View running containers
docker ps
View all containers
docker ps -a
View logs
docker logs redis-stack
View Docker images
docker images
Remove the Redis Stack image
docker rmi redis/redis-stack:latest
Connect from Your Application
Redis server:
Host: localhost
Port: 6379
Redis Insight:
http://localhost:8001
ASP.NET Core
localhost:6379
Example using StackExchange.Redis:
builder.Services.AddSingleton<IConnectionMultiplexer>(
    ConnectionMultiplexer.Connect("localhost:6379")
);
Spring Boot
spring.data.redis.host=localhost
spring.data.redis.port=6379
Node.js
import { createClient } from "redis";

const client = createClient({
    url: "redis://localhost:6379"
});

await client.connect();
Common Issues
Port 6379 Already in Use
Check which process is using the port.
netstat -ano | findstr 6379
Or run Redis on another port.
docker run -d --name redis-stack -p 6380:6379 -p 8001:8001 redis/redis-stack:latest
Port 8001 Already in Use
Run Redis Insight on another port.
docker run -d --name redis-stack -p 6379:6379 -p 8002:8001 redis/redis-stack:latest
Open:
http://localhost:8002
Docker Daemon Is Not Running
If you see:
Cannot connect to the Docker daemon
Start Docker Desktop and wait until it finishes initializing.
Conclusion
Redis Stack is the easiest way to get started with Redis on Windows. In addition to the core Redis server, it includes powerful modules and Redis Insight, making it ideal for development, testing, and learning.
In this guide, you learned how to:
- Install Redis Stack using Docker
- Run Redis Stack with a single command
- Access Redis Insight in your browser
- Connect using the Redis CLI
- Store and retrieve data
- Use RedisJSON
- Enable persistent storage with Docker volumes
- Connect Redis from ASP.NET Core, Spring Boot, or Node.js
- Troubleshoot common Docker issues
With Docker and Redis Stack, you can have a fully featured Redis environment up and running in just a few minutes.
Share this article

Dabananda Mitra
Software Engineer specializing in scalable backend systems and minimal, effective API design.
Comments
Loading comments...
More Writings
How to Kill a Process Using Port in Windows: Complete Guide
Learn how to find and kill a process using a specific port in Windows with netstat, tasklist, and taskkill commands. A practical guide for .NET and ASP.NET Core developers.
Read Article →.NETTop 500 .NET Interview Questions | Complete Preparation Guide
Preparing for a .NET developer interview? I collected 500 unique interview questions covering the most important areas of the .NET ecosystem. This is a useful revision resource for freshers and experienced .NET developers preparing for technical interviews. Save it, practice the questions category by category, and use it as a structured roadmap for your .NET interview preparation.
Read Article →.NETProject Template: ASP.NET Core Web Api Modular Monolith
Tired of doing the starting configuration again and again for new projects? Here is the solution. Use this Modular Monolith ASP.NET Core Web Api starting template and directly jump into main code.
Read Article →