NVM for Windows: A Complete Guide to Installing and Managing Multiple Node.js Versions
Learn how to install NVM for Windows, manage multiple Node.js versions, switch between them, install the latest or LTS releases, uninstall old versions, and troubleshoot common issues with this step-by-step guide.
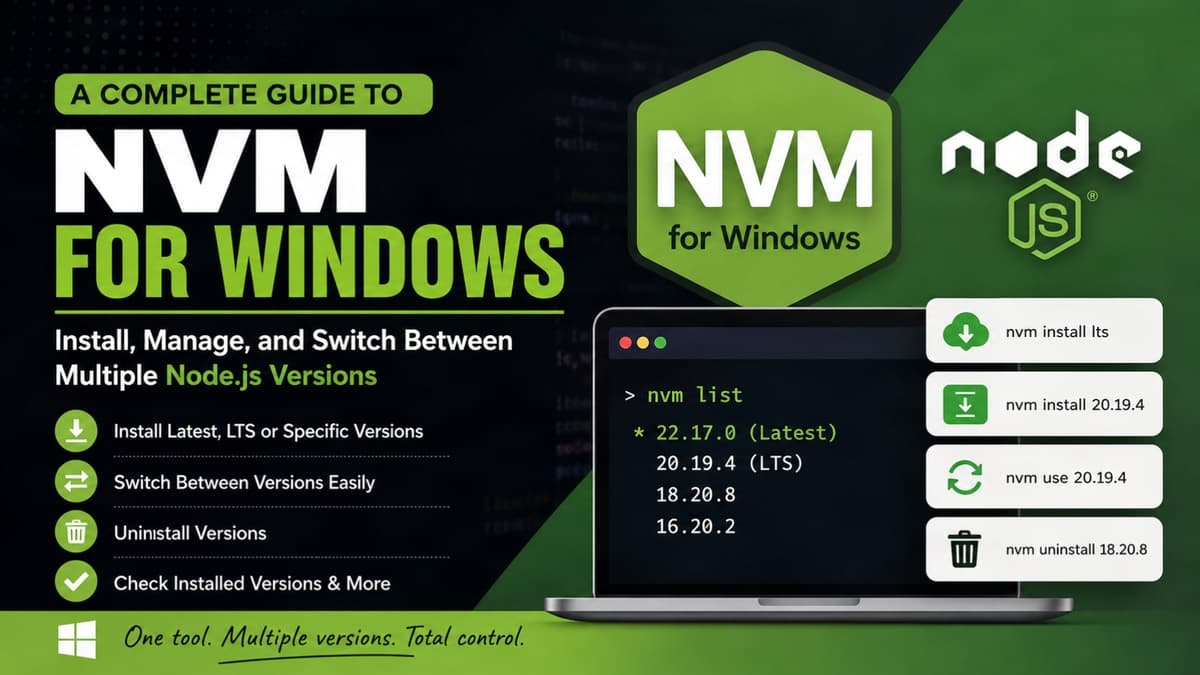
What is NVM?
NVM (Node Version Manager) allows you to install and manage multiple versions of Node.js on the same machine.
Benefits:
- Install multiple Node.js versions
- Switch between versions instantly
- Test projects with different Node.js versions
- Easily uninstall unused versions
Note: This guide is for Windows using NVM for Windows.
Step 1: Check if Node.js is Already Installed (Optional)
Open Command Prompt, PowerShell, or Windows Terminal.
Check the Node.js version:
node -v
Example:
v22.17.0
Check the npm version:
npm -v
If you receive an error like:
'node' is not recognized as an internal or external command...
then Node.js is not currently installed.
Step 2: Uninstall Existing Node.js (Recommended)
If you previously installed Node.js manually (without NVM), uninstall it first.
- Open:
Settings
→ Apps
→ Installed Apps
- Uninstall:
Node.js
- Delete the installation folder if it still exists:
C:\Program Files\nodejs
- Restart your terminal.
Step 3: Download NVM for Windows
Visit the official GitHub releases page:
https://github.com/coreybutler/nvm-windows/releases
Download:
nvm-setup.exe
Always download the latest stable release.
Step 4: Install NVM
Run:
nvm-setup.exe
Follow the installation wizard:
Next
Next
Install
Finish
The default installation paths are recommended.
Step 5: Verify the Installation
Open a new terminal and run:
nvm version
Example:
1.2.2
If you see a version number, NVM has been installed successfully.
Step 6: View Available Node.js Versions
Display all available Node.js versions:
nvm list available
Example:
18.20.8
20.19.4 (LTS)
22.17.0 (Latest)
Step 7: Install the Latest Version
nvm install latest
Step 8: Install the Latest LTS Version
nvm install lts
Step 9: Install a Specific Version
Example:
nvm install 20.19.4
or
nvm install 22.17.0
Step 10: View Installed Versions
nvm list
Example:
* 22.17.0
  20.19.4
  18.20.8
The * indicates the currently active version.
Step 11: Switch to a Node.js Version
Example:
nvm use 20.19.4
or
nvm use 22.17.0
Example output:
Now using node v20.19.4
Step 12: Verify the Active Version
node -v
Example:
v20.19.4
Check npm:
npm -v
Step 13: Check the Node.js Installation Path
where node
Example:
C:\Program Files\nodejs\node.exe
Step 14: Check the NVM Version
nvm version
Step 15: Check the Current Node.js Version
node -v
Step 16: Check the npm Version
npm -v
Step 17: Install Another Node.js Version
Example:
nvm install 18.20.8
Activate it:
nvm use 18.20.8
Step 18: Switch Between Installed Versions
nvm use 18.20.8
Later switch to:
nvm use 20.19.4
Or:
nvm use 22.17.0
Step 19: Uninstall a Node.js Version
Example:
nvm uninstall 18.20.8
Example output:
Uninstalling node v18.20.8...
Complete
Step 20: Confirm Installed Versions
nvm list
Step 21: Reinstall a Version
nvm install 20.19.4
Then activate it:
nvm use 20.19.4
Step 22: Update npm (Optional)
After selecting a Node.js version:
npm install -g npm
Verify:
npm -v
Step 23: Verify Everything Is Working
node -v
npm -v
nvm version
nvm list
Example:
v22.17.0
11.5.2
1.2.2

* 22.17.0
  20.19.4
Common NVM Commands
| Task | Command |
|---|---|
| Check NVM version | nvm version |
| List installed versions | nvm list |
| List available versions | nvm list available |
| Install latest Node.js | nvm install latest |
| Install latest LTS | nvm install lts |
| Install a specific version | nvm install <version> |
| Use a version | nvm use <version> |
| Uninstall a version | nvm uninstall <version> |
| Check Node.js version | node -v |
| Check npm version | npm -v |
| Find Node.js executable | where node |
Example Workflow
# Install the latest LTS version
nvm install lts

# Install a specific version
nvm install 22.17.0

# View installed versions
nvm list

# Switch to the new version
nvm use 22.17.0

# Verify
node -v
npm -v

# Switch to another version
nvm use 20.19.4

# Remove an old version
nvm uninstall 18.20.8

# Confirm installed versions
nvm list
Troubleshooting
'node' is not recognized
If you see:
'node' is not recognized as an internal or external command...
Try the following:
- Close and reopen your terminal.
- Run:
nvm use <version>
- Ensure any manually installed Node.js version has been removed.
- Verify your system
PATHenvironment variable doesn't contain an old Node.js installation.
'nvm' is not recognized
If you see:
'nvm' is not recognized as an internal or external command...
Try:
- Restart your terminal.
- Restart Windows if necessary.
- Reinstall NVM for Windows.
- Verify that NVM's installation directory has been added to your
PATH.
Notes
- Global npm packages are version-specific. Installing a global package under one Node.js version does not make it available in other versions.
- Always use
nvm use <version>before starting a project if you need a specific Node.js version. - Open a new terminal after installing NVM or modifying environment variables.
Conclusion
Using NVM for Windows is the easiest way to manage multiple Node.js versions on your machine. Whether you're working with legacy projects or testing the latest Node.js releases, NVM makes switching between versions quick and hassle-free.
Happy coding!
Share this article

Dabananda Mitra
Software Engineer specializing in scalable backend systems and minimal, effective API design.
Comments
Loading comments...
More Writings
How to Kill a Process Using Port in Windows: Complete Guide
Learn how to find and kill a process using a specific port in Windows with netstat, tasklist, and taskkill commands. A practical guide for .NET and ASP.NET Core developers.
Read Article →.NETTop 500 .NET Interview Questions | Complete Preparation Guide
Preparing for a .NET developer interview? I collected 500 unique interview questions covering the most important areas of the .NET ecosystem. This is a useful revision resource for freshers and experienced .NET developers preparing for technical interviews. Save it, practice the questions category by category, and use it as a structured roadmap for your .NET interview preparation.
Read Article →.NETProject Template: ASP.NET Core Web Api Modular Monolith
Tired of doing the starting configuration again and again for new projects? Here is the solution. Use this Modular Monolith ASP.NET Core Web Api starting template and directly jump into main code.
Read Article →